Users
User Management in TAO involves adding and editing user profiles, assigning roles to specific users, and granting users access rights to specific areas of TAO.
These user-related functions, which are accessible to Global Managers, are organized in four areas with 5 tabs:
- Manage Users (and Edit A User)
- Add A User
- Manage Roles
- Manage Access Rights.
These functions can be found under the Users icon  located on the right-hand side of the Assessment Builder Bar.
Note: Roles differ slightly in TAO depending on the edition you are using. In the Premium Edition, the Global Manager can manage and add users and assign roles to them, but cannot manage roles (define or modify them) or access rights. In the Community Edition, the Global Manager acts as the main administrator, and can carry out all of the four functions named above.
Manage users
This tab provides an overview of all the registered users in your TAO system, including administrators, test-takers, and any other individuals to whom you have granted access.
To edit a user, review the information in the table and then click the Edit button for that row. This will take you to the Edit a user tab which can only be accessed in this manner.
You can edit the First or Last Names, e-mail (Mail), Interface language, Roles, and changing passwords here.
Users are required to have a label, Interface language (English by default) and a Role. Other information is optional and can be removed when editing.
Note: It is not possible to change the login of an existing user. If there is a login conflict, it will need to be resolved without editing this field.
Alternatively, the Manage users tab is where you would remove users by clicking the Remove button on the right of the row.
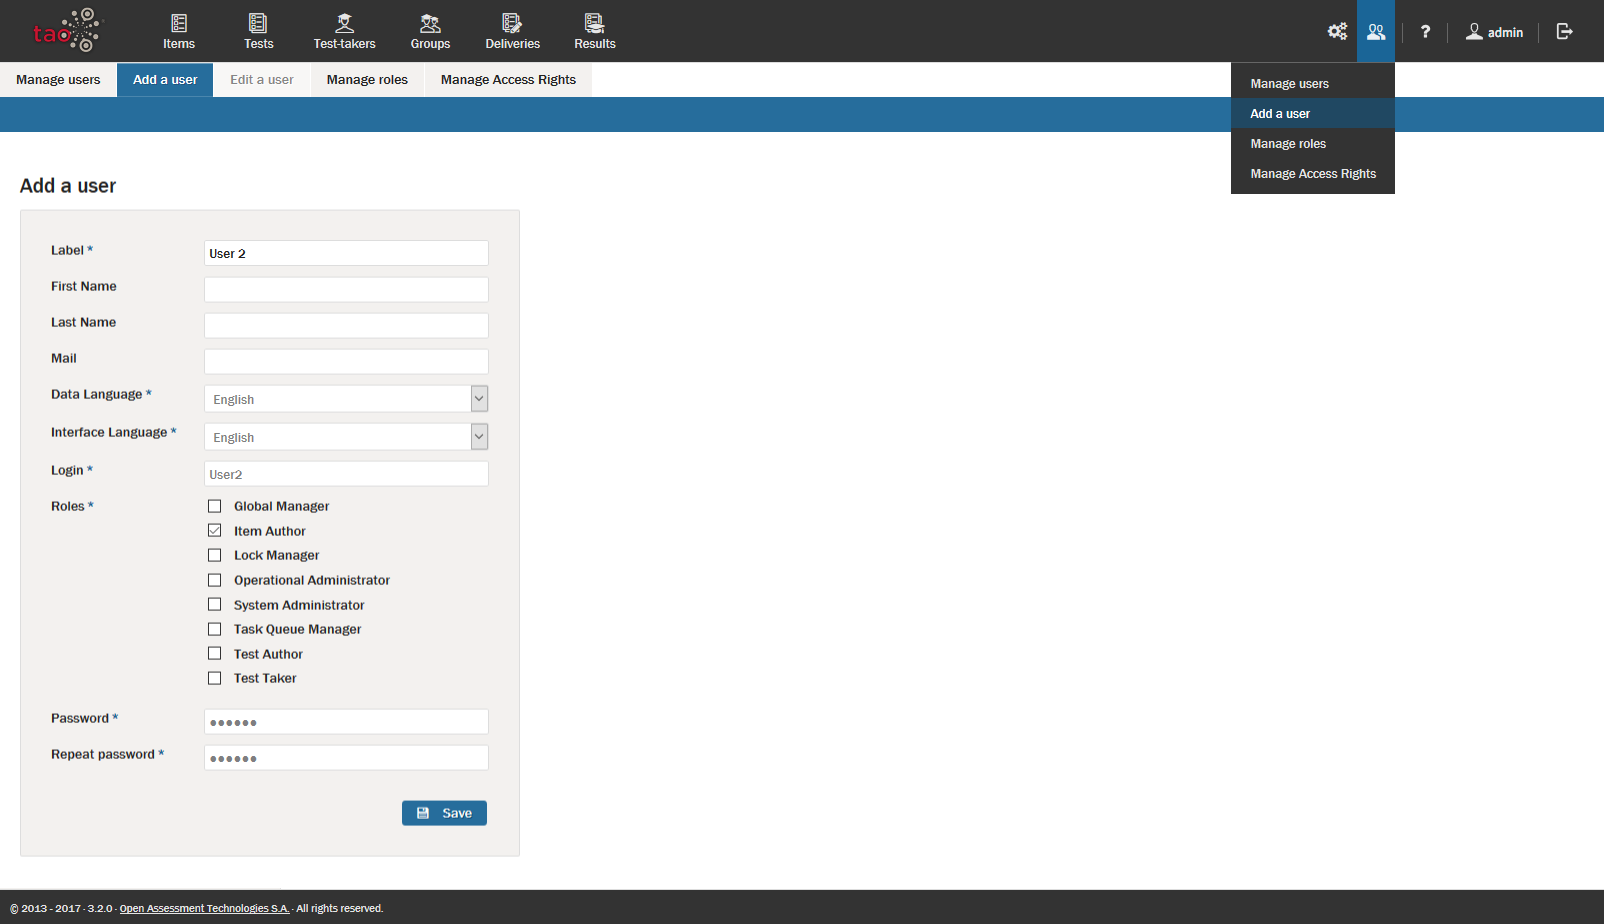
Add a user
The Add a user tab allows new User accounts to be created on your TAO system. These can include any user from an administrator to a Test-taker.
To create a user, click on the Add a user tab and fill in the following fields:
- Label (full name or easy-to-remember nickname)
- First Name (given name)
- Last Name (surname)
- Mail (e-mail address)
- Interface Language (language used by the user)
- Login (must be unique, cannot be changed once set)
- Roles (as desired)
- Password and confirmation (to be given to the user).
The First Name, Last Name, and Mail (E-mail) fields are optional.
Manage roles
The Manage roles tab can be used to create, manage, and assign roles.
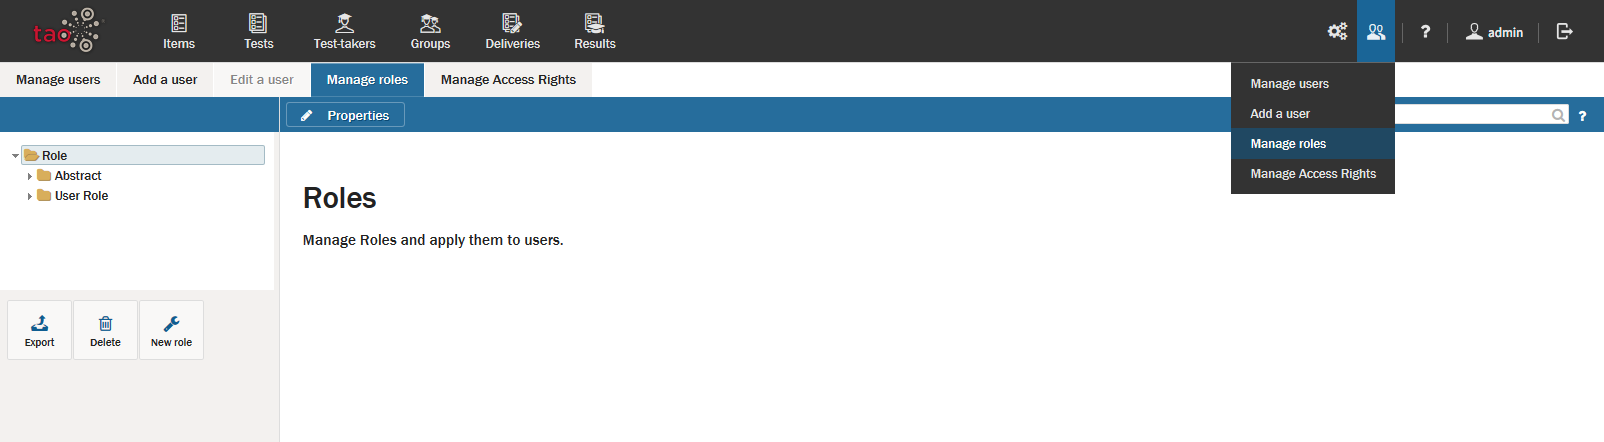
The left panel of the Manage roles tab shows the tree of roles with classes (folders) and any roles within them.
When a role is selected in the left panel, the right panel will display the Properties tab. On this tab, you will be able to edit the label and the roles assigned to this role.
You can also select the Assign Users tab which will display users who are assigned to the role or can be assigned to it. Existing users can be assigned to the role by clicking the checkboxes of the users you are assigning to this role and then clicking Save. You can also uncheck a user to remove them from the role.
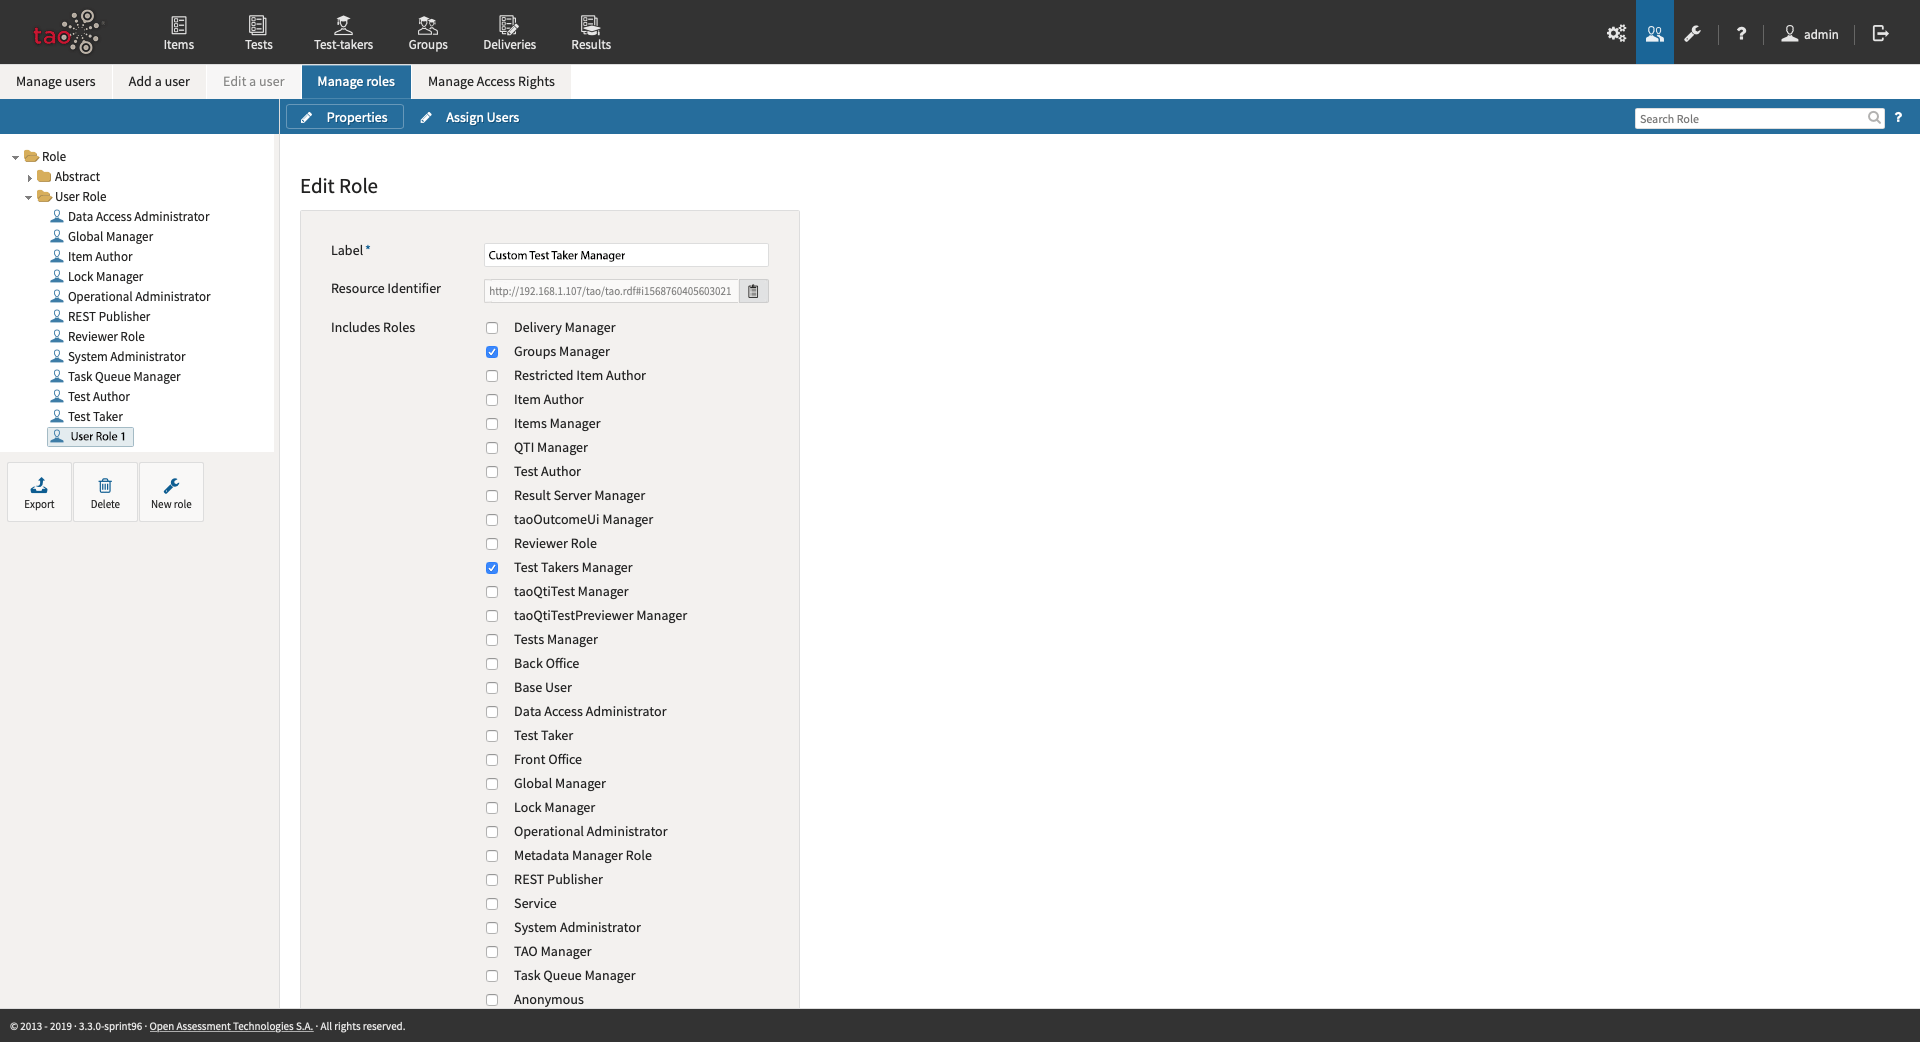
Creating a New Role
To create a new role, click New Role icon  at the bottom of the left panel. As with managing an existing role, you will have the ability to assign a label to the role and select roles to be included on the Properties tab. You can also select the Assign user tab and assign the role to already existing users.
The label should be descriptive, you may also want to use a prefix, e.g. Custom for all custom roles to make them easily distinguishable.
For example, to create a new role Custom Test Taker Manager that would only allow users the ability to configure Groups and add Test-takers you would proceed as follows:
- Click on the User Role class and then click on the New role to open the Properties for the new role.
- Change the Label to Custom Test Taker Manager.
- Select the Groups Manager and Test Takers Manager to limit the access to these areas for users who will be granted this new role.
For more detailed information on individual roles, see the chapter Main roles.
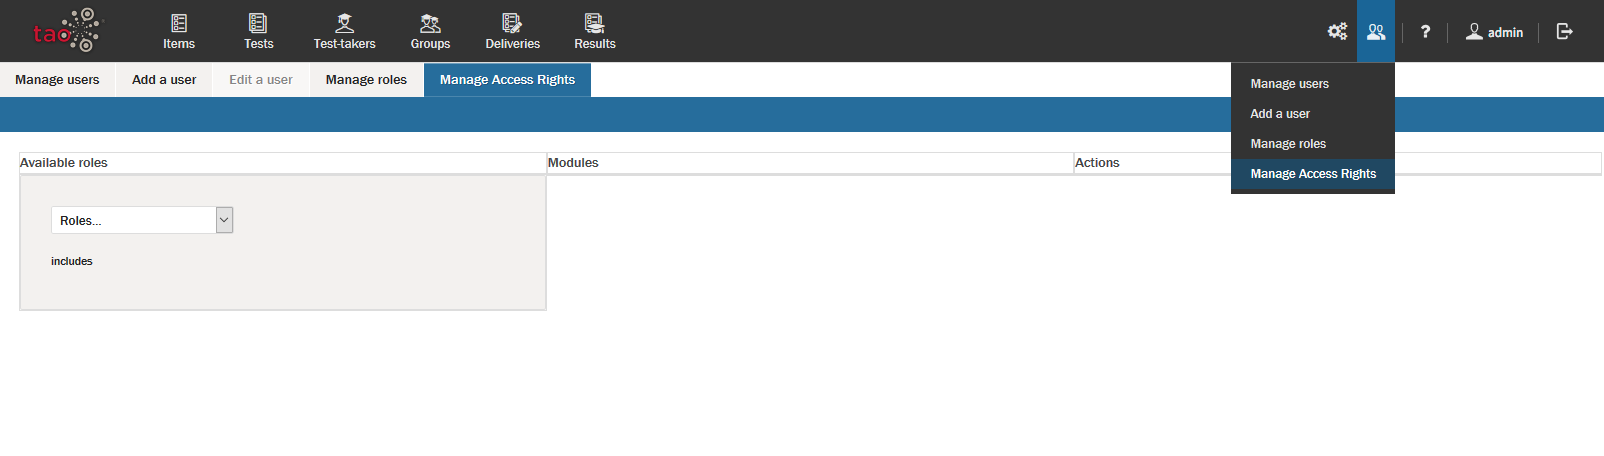
Manage Access Rights.
The Manage Access Rights tab provides the means for changing the access rights of roles within your TAO system by either adding or removing modules from a specific role.
To customize or edit access rights for different roles, click on the Manage Access Rights tab. In the drop-down in the left column, select the role you wish to modify. Review the Modules list in the second column and then check the appropriate boxes for those modules you want the role to access (or uncheck those boxes you no longer want the role to access). The actions column on the right, will display any callables from the PciLoader controller of the qtiItemPci extensions.