Creating a Delivery
Assembled Deliveries provide the means of publishing Tests. A delivery can only be assembled after test Items containing Interactions have been created and the test has been assembled.
Let’s walk through the steps of creating a delivery.
1. Click on Deliveries in the Assessment Builder Bar.
This will take you to the Deliveries page, and will show the last delivery that has been created. On the left-hand side of your screen you will see the Delivery Library of existing deliveries. The last delivery which was created will be highlighted in the library. In this tour, however, you will create a new delivery.
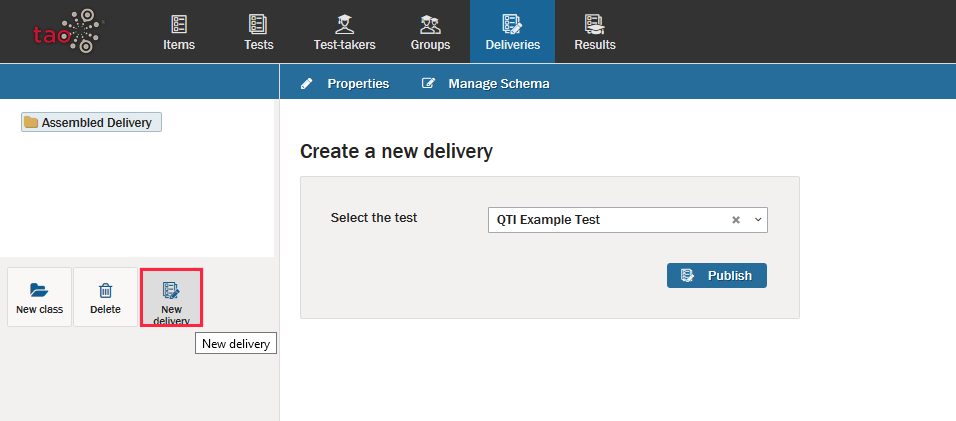
2. Click on New delivery in the button bank under the library.
This brings up a dialog box entitled Create a New Delivery, which asks for a test selection. From the pull-down menu, select the test that is to be sent to test-takers in this delivery. Once selected, click Publish.
Note: To create a new delivery in a different folder, select the desired folder in the library, and then click on the New delivery icon in the button bank. To create a new folder (in TAO these represent new classes), click on New class in the button bank, and then give it a label. Highlight where to put the new folder relating to the new class.
If you open the delivery you have created, a properties panel will come up. You can use this panel to define the conditions in which the delivery should be delivered to test-takers, as shown in step 3 below.
3. Set the delivery properties.
Label: The default name of the delivery is ‘Delivery of Test Name‘. This can be changed as needed.
Title: Give your delivery a title.
Maximum Executions: If left empty, test-takers may take the delivered test an unlimited number of times. Setting this number to any non-zero integer will limit the test-takers to that number of attempts.
Start Date and End Date: These fields establish both the earliest date and time and the latest date and time the test can be taken. Clicking on either date field provides a graphical interface which allows you to set the date and time (using a calendar, and slider controls for hours and minutes). However, it is also possible to provide the date and time by typing them in manually in the following order: year, month, day, and 24-hour clock (YYYY-MM-DD HH:MM)
Display Order: This allows you to specify the order in which the deliveries are presented.
As a test-taker you are presented with a list of all the deliveries which are assigned to you. These are normally unordered unless you set display order to a numeric value. This numeric value defines the position of delivery in the Available list.
Access: If the Guest Access box is checked, people who are not registered as test-takers can view the delivery. This enables a test author or an administrator to preview the test without having to assign it to a Test Center to try it out.
Test Runner Features: Checking the Security plugins box ensures restricted access to the delivery by showing it in forced full-screen mode, and detects certain key presses, such as print screen for creating a screenshot. When combined with proctoring, the test will be halted upon detection of the relevant key presses, or of loss of focus (if the test-taker uses alt-tab or exits full screen mode).
You can now deliver your test to test-takers using the delivery you have just set up. See the section on Delivering Tests for information on the various options for how to deliver tests to test-takers.