Importing Items
Items and Interactions can be imported from one computer to another, using an operation called Import.
The steps to import items are as follows.
1. Click on Items  on the Assessment Builder Bar.
This will take you to the Item Library, which you will see on the left.
2. Click on the Item class  (i.e. folder) in the library that you wish to import the new item into.
3. Click on Import  in the button bank below the library.
This opens a dialog box which asks you to select the format of the item to be imported. The supported input formats are: QTI (Question and Test Interoperability) packages or items, APIP (Accessible Portable Item Protocol) packages, RDF (Resource Description Framework) or CSV (Comma-Separated Values) files. Be sure that the Item to be imported is in this format, or the import won’t work.
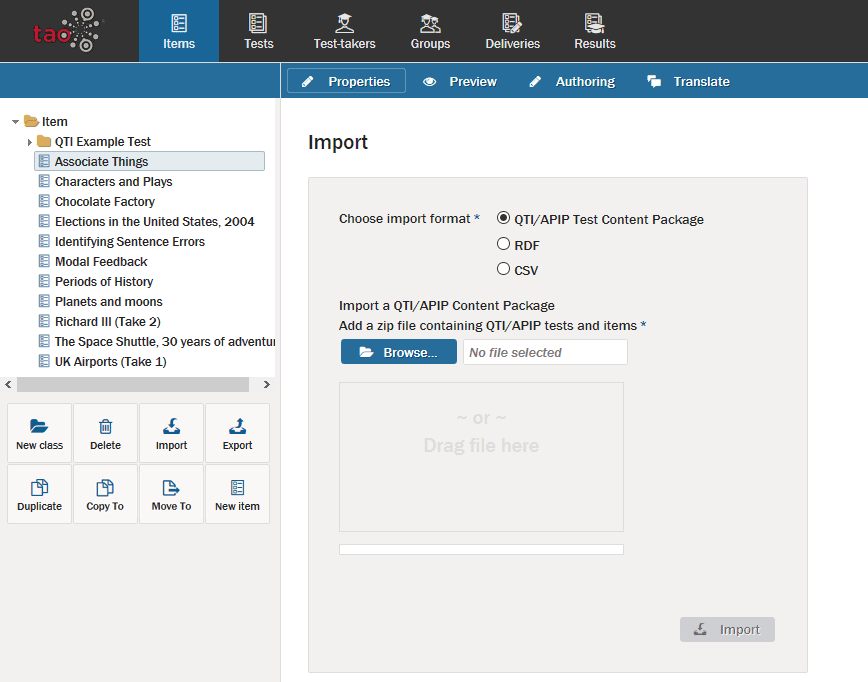
4. Click the blue Browse button to find the file intended for import (alternatively, the file may be dragged and dropped into the box below the button).
5. Once the item is selected, click on the blue Import button.
This will import the item into the Item library, after which it can be added to Tests, or modified.