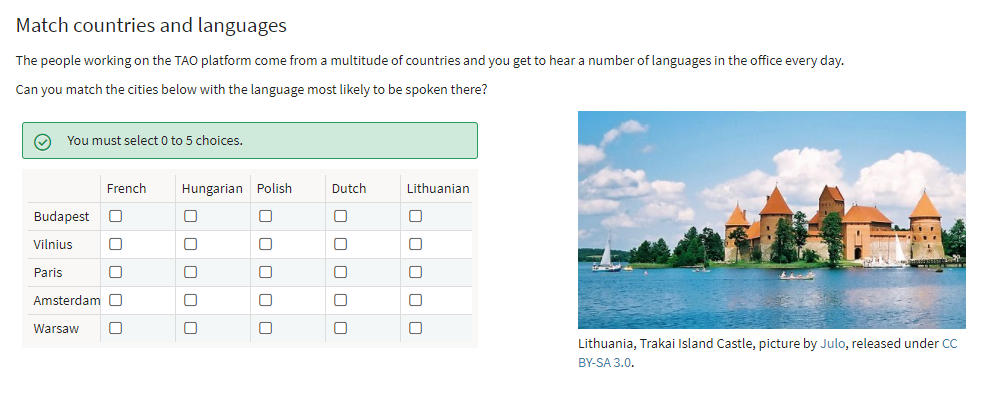
Match Interaction
The Match Interaction provides Test-takers with a matrix upon which they can demonstrate their knowledge by accurately matching, or associating, selections from two different sets of elements. Matching is carried out by placing check marks in squares where matching rows and columns intersect.
Once you have generated a new Item, and clicked on Authoring in the Action Bar, follow the steps below to create a new Match interaction:
1. From the Common Interactions Library on the left, drag the Match icon  onto the blank item and drop it onto the Canvas.
This creates a new Match Interaction window. There is a question field at the top, and a default 2-row-by-2-column matrix beneath this.
2. Fill in the question field, where it says define prompt.
This should describe the match task expected of the test-taker.
Note: See the chapter Word Processing Options for details on text editing options such as using italics or bold text in your item, and inserting features such as shared stimuli or media, tables or formulae.
3. Insert in the rows the first set of elements, and in the columns the second set of elements that are to be matched with the first.
Using the Add new row and Add new column buttons, add as many rows and columns as will be needed to cover all the matches. If desired, add some unmatched elements in either the rows or the columns to provide an additional challenge for the Test-taker.
5. Click Response on the right of blue interaction header to define the correct answer(s).
7. Click the blue Done button. Your match interaction is now complete.
After this step, you can preview and test-run your interaction using the instructions given in steps 5 and 6 in Creating a Test Item.