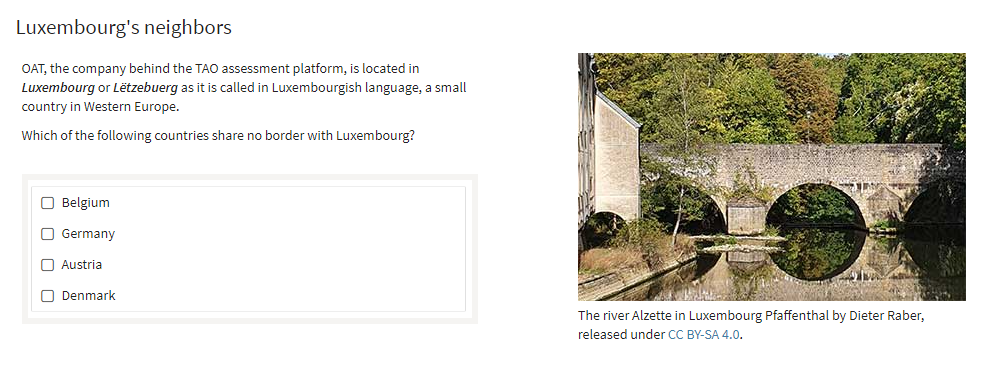
Choice Interaction
Choice Interactions, or multiple choice questions, present a test type that has been made popular by such time-honored exams as the SAT, ACT, PSAT/NMSQT, etc. Choice interactions are preferable to free-response test interactions in cases where a large quantity of test questions need to be covered in a short exam period.

Once you have generated a new Item, and clicked on Authoring in the Action Bar, follow the steps below to create a new Choice Interaction:
1. From the Common Interactions Library on the left, drag the Choice icon onto the blank item and drop it onto the Canvas.
This provides the answer choices for your choice interaction.
2. Enter the question in the question field at the top of the interaction where it says define prompt.
Note: See the chapter Word Processing Options for details on text editing options such as using italics or bold text in your item, and inserting features such as shared stimuli or media, tables or formulae.
3. Enter the answer choices.
A choice interaction has three default answer choices. Click on choice #1 to type the first answer choice in this field. Repeat this step with the other choices to populate the other fields with your answer choices.
You can add more choices by clicking the blue Add Choice field below the first three choices (keep clicking until the desired number of choices appear in the item), and you can delete choices by clicking the trash can icon to the right of the choice you wish to delete.
4. After defining all answer choices, set the minimum and maximum number of answer choices that the Test-Taker will be asked to provide (before he can continue to the next question).
This can be done in the Allowed Choices boxes in the Interaction Properties Panel on the right. Setting the minimum to “0” allows the Test-taker to skip the question.
By default, your choice interaction is made of checkboxes. Leaving the maximum on “0” allows test-takers to select an unlimited number of choices.
To set up a radio button test interaction, select a maximum of 1. This means that your test-taker will not be allowed to select more than one choice. You can see on your interaction that radio buttons will be displayed.
5. Complete optional configuration of the interaction if required.
You can choose to configure your interaction in the following ways:
- present the answer choices in list format
- shuffle the choices
- present the answer options horizontally
These options are available in the Interaction Properties Panel on the right. See the section Configuring Interactions for details.
6. Click Response on the right of the blue interaction header to define the correct answer(s).
This activates options for setting the correct answer.
7. Select the correct answer by clicking the box in front of it.
You can select more than one answer.
8. Complete optional configuration of response if required.
You can choose to configure the interaction response in the following ways:
- give partial credit for partially correct answers
- insert modal feedback
These options are available in the Response Properties Panel on the right. See the section Configuring Interactions for details.
9. Click the blue Done button. Your choice interaction is now complete.
After this step, you can preview and test-run your interaction by following the instructions given in Steps 5 and 6 in Creating a Test Item.
