Creating a test item
Items are formed of questions and other types of Interaction, allowing the Test-taker to interact with them. These items comprise parts of the Tests which are used to assess Test-taker performance. Items are created and populated with interactions, and can be combined with supporting materials such as titles, texts, images and other media, which help the Test-taker understand the expectations and context of the assessment material presented within.
Now, let’s walk through the steps of creating an item.
1. Click on the Items  icon in the Assessment Builder Bar.
This will take you to the Items page. The Library on the left-hand side will show existing items. The last item to be edited (either by you or a previous user) will be highlighted in the library. In this tour, however, you will create a new item.
2. Click on the New item icon in the button bank under the library.
This will create a new item in the selected folder.
Note: To create a new item in a different folder, click on that folder in the library, and then select the New item icon in the button bank. To create a new folder (in TAO these represent classes), click on the New class ![]() icon in the button bank. Select a location within the library, and the new folder (class) will be created there.
icon in the button bank. Select a location within the library, and the new folder (class) will be created there.
Note: The ‘Access control’ ![]() button (in the button bank under the library on the left) is only available if the extension taoDacSimple is installed.
button (in the button bank under the library on the left) is only available if the extension taoDacSimple is installed.
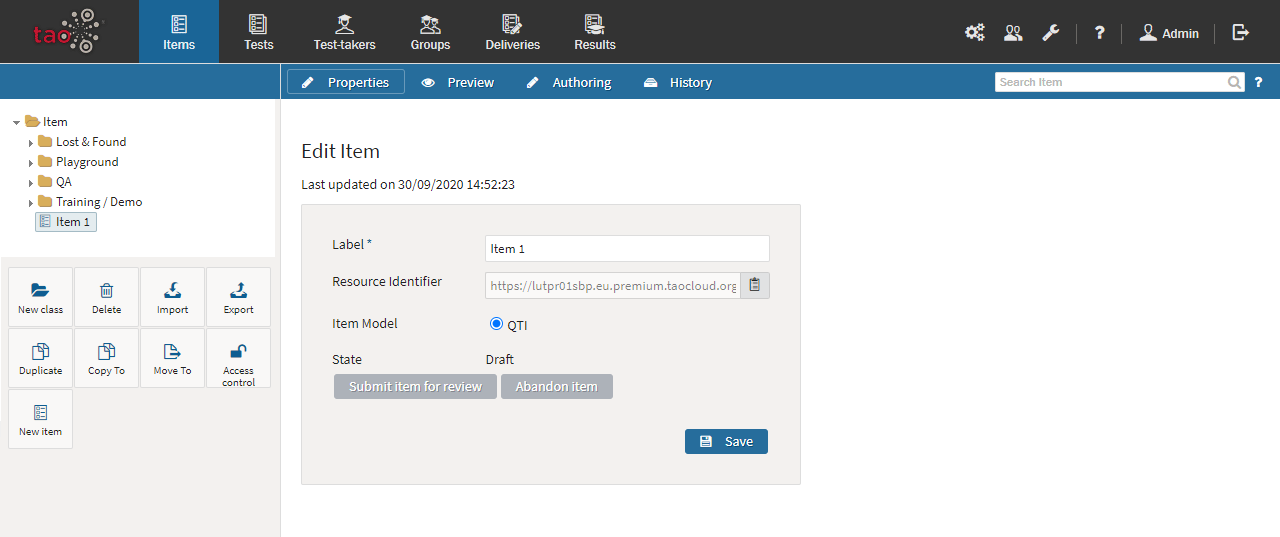
3. Label and save your item.
Creating a new item will bring up a new dialog box with the option to name (or label) your item. After labeling your item, click Save. This produces an empty item, which you can now populate with interactions.
4. Click on the Authoring  icon in the Action Bar.
This will take you to the empty item you have created.
You can now start to fill this with content such as interactions, as well as any other resources that are needed. Interactions provide the question (or task) you wish to set for the candidates. They allow the test-taker to interact with the item. You may also add other content, in the form of images and other media, and texts, to your item, in order to provide further contextual information if needed. See the sections Adding interactions and Adding other content for information on what you can put in your item, and how to do it.
5. Preview your Item.
Once you have added the content you wish to the new item, you can preview it to see how it will appear to the test-taker, and what it looks like on various screen sizes. To preview your interaction or item, click on the Preview button in the Action Bar. A pop-up window will appear.
6. Test-run your Item.
At this stage, it is also a good test-run the item if it is to be scored automatically. Before you do so, however, you may need to configure the scoring method you wish to be used. The default scoring method used for items is that they are marked as either correct or incorrect (so if there are multiple parts to the questions (within one interaction) and one part of it is incorrect, all of it will be marked as incorrect).
If you want to keep this method there is no need to change the configuration. If you would like to learn more about the automatic scoring methods available, see the chapter Scoring items automatically for information on how to do this.
Note: It is also possible to score items manually in TAO Grader, though only in the context of a full TAO delivery. Manual scoring is only available to Ignite and Enterprise customers. See Scoring items manually for information on how to configure items for manual scoring.
Once the scoring method is configured, click the blue Save button in the pop-up window (the window will appear whether the interaction has been saved already or not, just to ensure that the latest version of the Interaction is not lost during testing).
Answer the question correctly or incorrectly to see if the interaction(s) in your item performs as expected. Clicking Submit will bring up a black screen below the demonstrated interaction which shows the score for the answer you have given. If the scoring method configured awards partial credit, it is a good idea to try out not only answers which are either completely correct or completely incorrect, but also to test the various ways in which partial credit may be awarded.
Once testing is completed, click the Close button at the top of the page.
This will take you back to the point where further changes to the interaction may be made (click on the item to return to Authoring), or where the Interaction can be dismissed until the test is assembled.
7. Select the settings for your item.
There are two settings to configure for your new item. This is done in the Item Properties to the right of the canvas.
Language: Select the language of the item, using the drop-down menu. This will be used for the text-to-speech functionality. The default language is English.
Time dependent: Check the Time dependent box if you wish the length of time a test-taker takes to complete the item to be recorded. This information will be used when the response is processed.