Creating Users
You can create a new user by clicking on the “CREATE USER” button on the top-right of the table.

- User Settings contains the main information about the user you are creating and the mandatory information is marked by *:
- Login*: the user login to identify on TAO Portal
- Password: the user login to identify on TAO Portal
- Password Confirmation*: to confirm the password previously inserted in Password
- Active flag: to create an enabled (active), disabled (inactive) user. By default Active is checked. Inactive users cannot login.
- Name: the name assigned to user when created/updated
- Email: an email assigned to user when created/updated
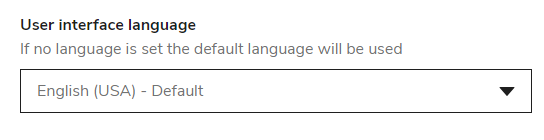
- User interface language: the language used (if available) to present the UI to the given user. By default this field is empty, but shows the default language configured at the TAO Portal level, which may change with time. To guarantee that this user will access TAO Portal using a predefined language, you can select one from the dropdown list.
- Global Role flags: a list of the flags related to the account roles. You can assign more than one global role to a user by selecting more options:

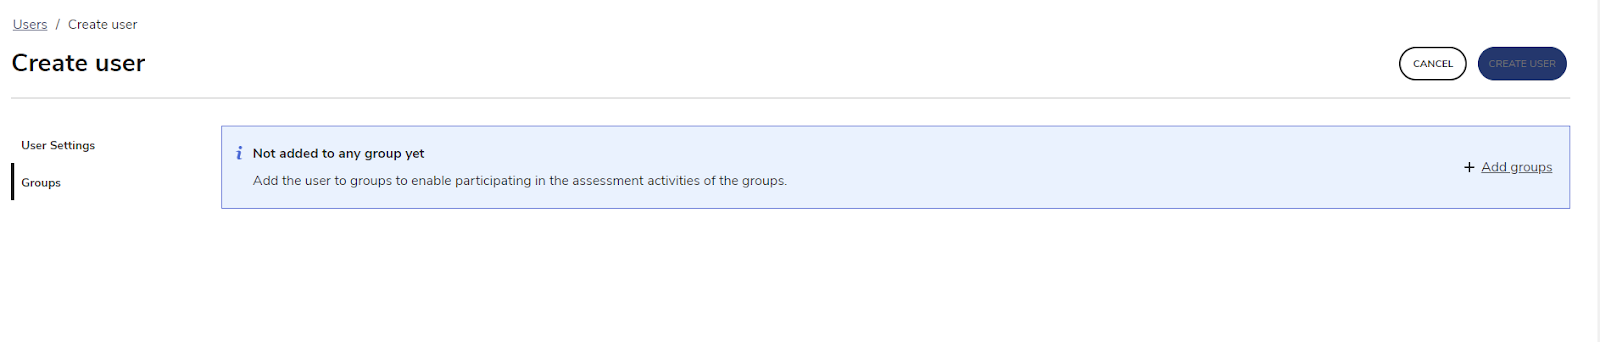
Note: If the user you want to create has to be enrolled to one or more groups, you can switch to the Groups tab. This is not a mandatory step as it is perfectly valid for a user to have only a global role and not to be a member of any group. Group enrollment can also be done from the Groups Management page.
Clicking on Add Groups provides access to the list of available groups:
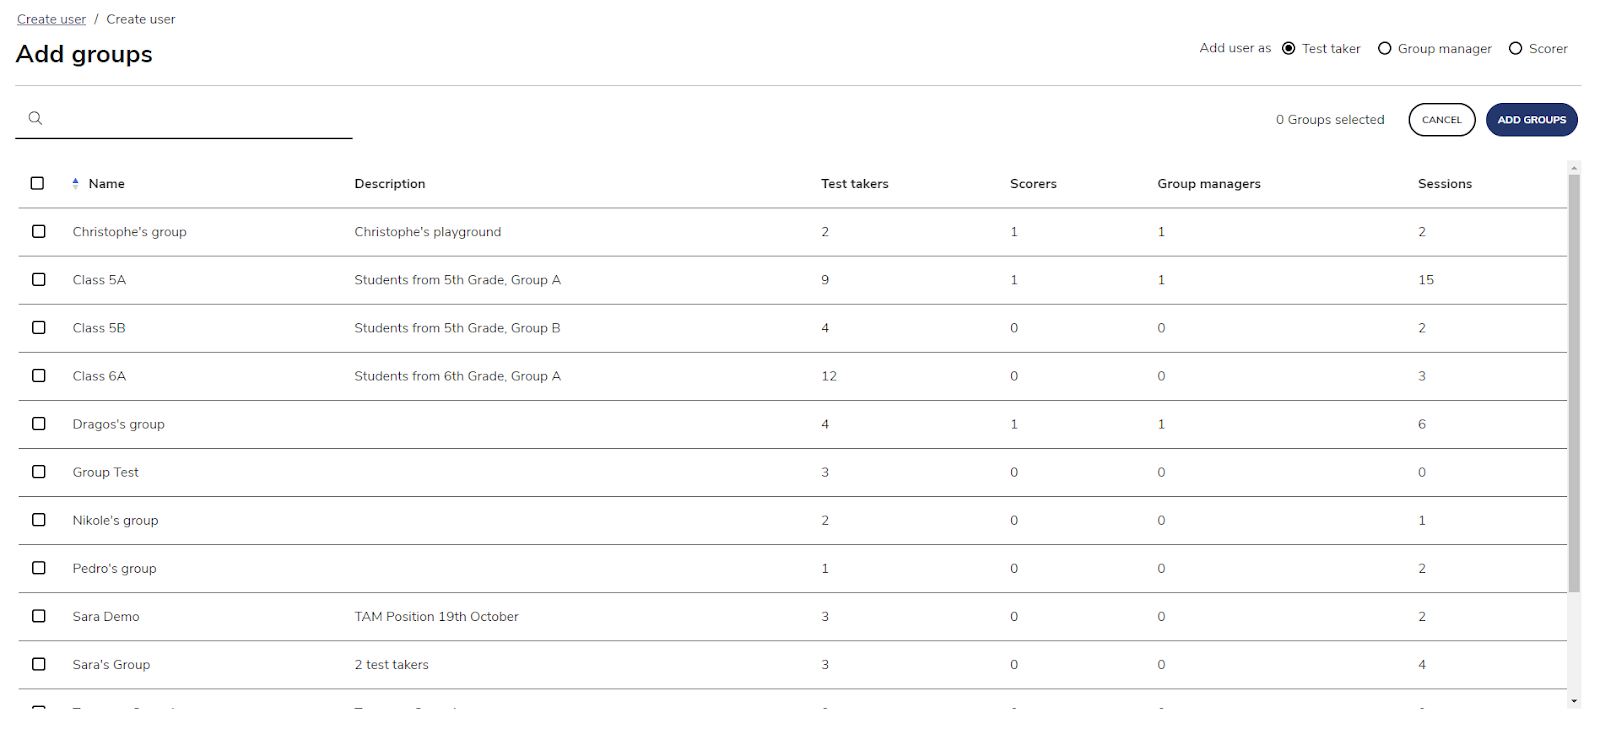
You can search through the available groups using the top-left search box and select one or more groups using the check boxes available on each row (for a description of groups information see Group Management section). You can decide the group-related role for the user you are creating by selecting a role at the top right of the table.
IMPORTANT: a user can be enrolled in multiple groups with a different role. For example a user could be enrolled as a Scorer in one group and as Group manager in another one. This cannot be done in a single operation. Rather, you have to open the Add Group interface for each role you want to assign to the user.
Once groups are assigned to a user, they appear in the Groups tab together with the corresponding role:
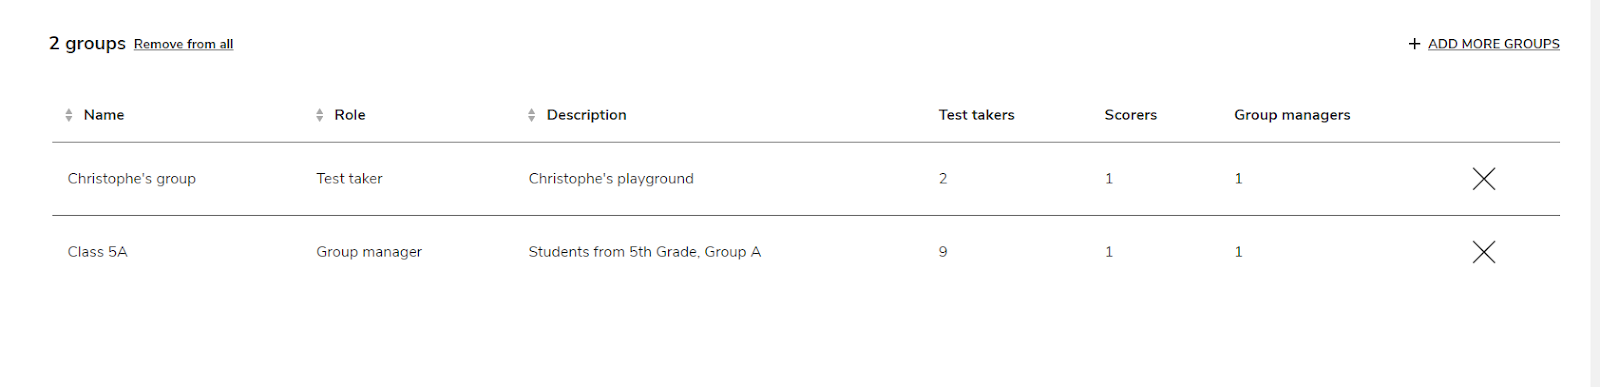
If you are not satisfied with the added groups, you can remove them using the Remove from all button and start from scratch, or click the X on the right side of a line to remove a specific enrollment.
When you are satisfied with the configuration of the given user click on Create User and confirm the creation of the user.